


 Now you can get the latest Java source bundled with each app update. Install the app from Google Play and go to Settings > Extras.
Getting started with Google Maps API for Android
 Download
Keywords: Google Play services SHA-1 fingerprint Google APIs Console Maps API key GoogleMap CameraPosition CameraUpdate Marker GroundOverlay UiSettings SupportMapFragment
Contents- MapsOverlay
- res
- layout
- activity_main.xml
- drawable-mdpi
- Thumbs.db
- ic_launcher.png
- plane.png
- arrow.png
- flag.png
- shadow.png
- values
- dimens.xml
- strings.xml
- styles.xml
- menu
- main.xml
- layout
- libs
- android-support-v4.jar
- src
- appsrox
- example
- mapsoverlay
- MainActivity.java
- mapsoverlay
- example
- appsrox
- AndroidManifest.xml
- res
1. Overview
In this tutorial we describe the steps required to use Google Maps Android API v2 in an Android application. We then create an app to demonstrate some useful features provided by the API. Additionally, we'll see how to create an overlay over the map using API as well as through layout.Here is a screenshot of the app.
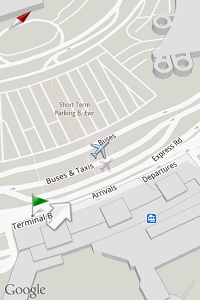 As you can see, we overlayed a picture of airplane and its shadow on the map. Notice the green flag and an arrow beside it which is made using Marker and GroundOverlay provided by the API.
Although it is not apparent in the screenshot but if you run the app you'll see the map scroll by giving an effect as if the airplane is flying. We'll discuss how we achieved this effect.
You need a real device to run the application as Google Play services is not supported on the Android emulator.
There are several steps that need to be done before we could use the Maps API in our application. First of all is installing the Google Play services SDK. If you haven't done it already, you may want to visit our earlier tutorial on setting up the development environment.2. Integrating Google Play Services
The Google Play services SDK gets installed at the following location in the Android SDK directory.<android-sdk-folder>/extras/google/google_play_services/To use the client library you need to import google-play-services_lib project into your Eclipse workspace. For this go to File > Import. Then, select Android > Existing Android Code into Workspace. Click Next.
In the Import Projects dialog, browse to the following directory and specify it as the Root Directory.
<android-sdk-folder>/extras/google/google_play_services/libproject
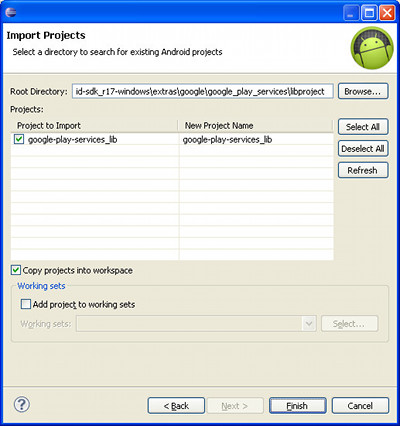 Select google-play-services_lib and Copy projects into workspace. Click Finish. A copy of the library project will get imported into your workspace.
3. The SHA-1 fingerprint
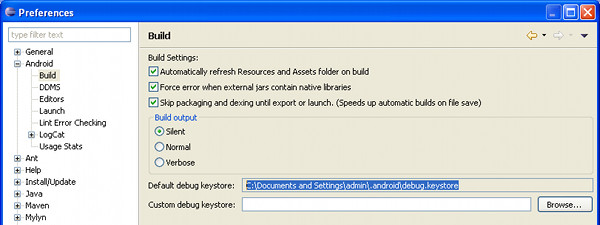
The SHA-1 fingerprint will be used later to obtain a Maps API key. It is generated using keytool program on the application's digital certificate. First, locate the keystore file with which you sign your apps.In Eclipse you can view location of the debug keystore file used by the IDE. Go to Window > Preferences. Then, select Android > Build.
 To display certificate information we use keytool program provided by Java JDK. Ensure that %JAVA_HOME%\bin is in your PATH. Then run the following command.
keytool -list -v -keystore "<path-to-keystore>\debug.keystore" -alias androiddebugkey -storepass android -keypass androidDo replace <path-to-keystore> in the command with actual path on your system.
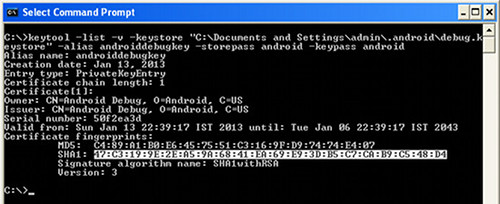 Copy SHA1 from the command prompt. We'll need it later to create an API key.
Since applications signed with a debug keystore file cannot be published. So before publishing the application you need to redo this step with your release keystore file.
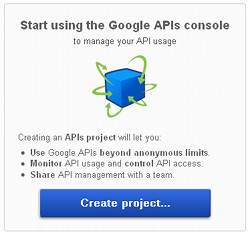
4. Create an API project
In order to obtain an API key we need to first create an API project through the Google APIs Console.If you log in to the console for the first time then you'd be prompted to create a project.
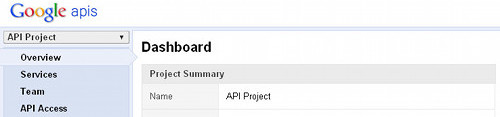
 Click Create project. You'll then see the Dashboard for the API project.
 It's a good idea to create a new project for GCM. Click on the project drop-down on the left side panel.
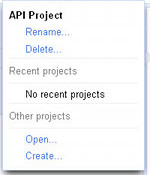 Click Create... and enter a name for the project e.g. Google Maps Android API v2 Project
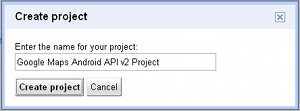 Click Create project. The project will be created and the Dashboard will refresh to reflect the current project.
5. Obtain a Google Maps API Key
Next, click on Services on the left side panel to see all services provided by Google.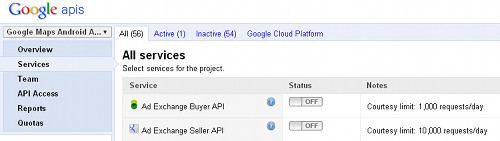 Find Google Maps Android API v2 and click on the switch to activate the service.
 Next, click on API Access on the left side panel. Click Create new Android key button at the bottom of the page.
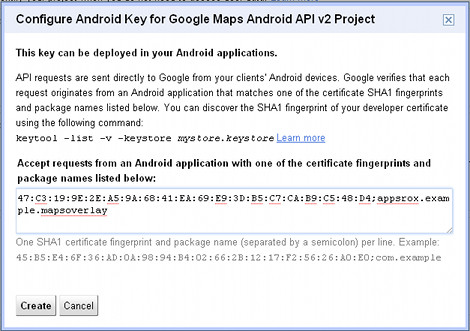
 A popup window will appear where you need to enter SHA1 fingerprint and package name of the application separated by a semicolon. The package name will be used later when we create the application.
<SHA1-fingerprint>;appsrox.example.mapsoverlayDo replace <SHA1-fingerprint> with the value you got earlier using the keytool program.
 Click Create. The page will refresh and you can see the generated API Key.
 Copy the API key and you may log out of the console.
Next, we'll create an application and demonstrate various features provided by the Maps Android API.