Android ActionBarCompat-Basic Sample
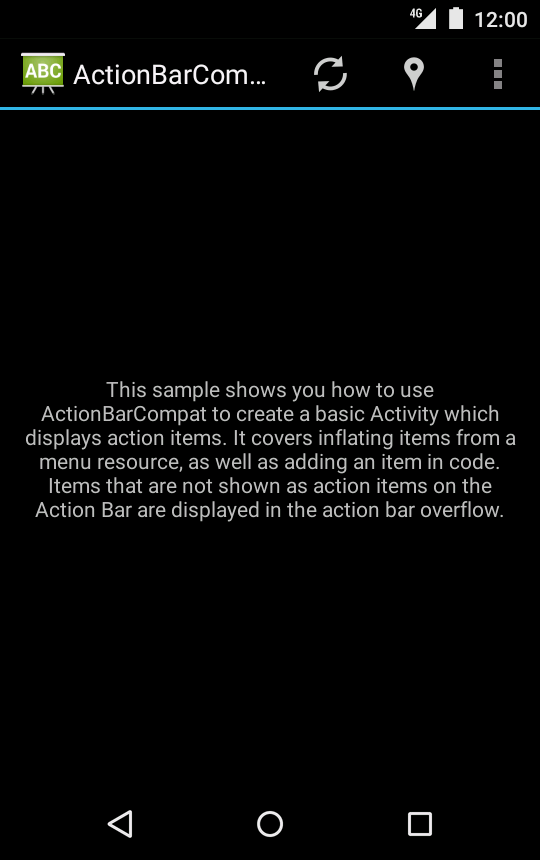
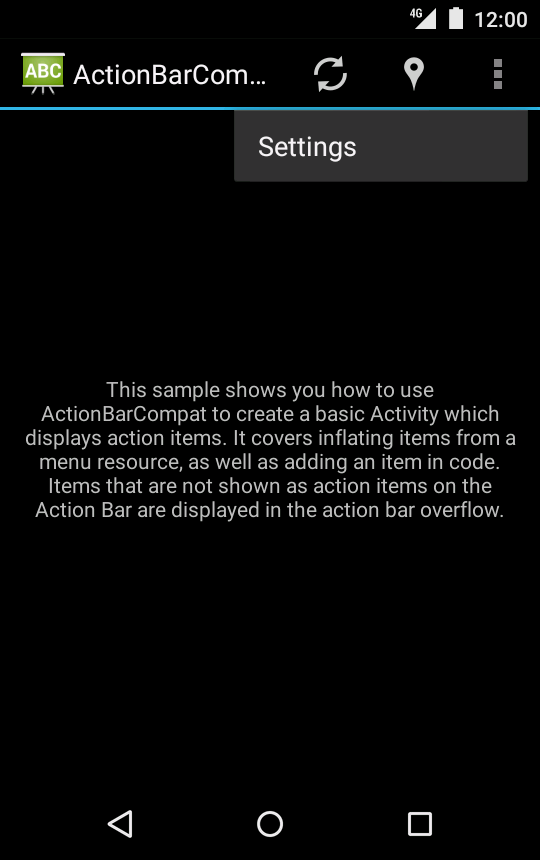
This sample shows you how to use ActionBarCompat to create a basic Activity which displays action items. It covers inflating items from a menu resource, as well as adding an item in code.
Introduction
Android 3.0 introduced the “action bar” control, a toolbar that is expected to be present in most types of applications. This control identifies the user location, and provides user actions and navigation modes. Using the action bar offers your users a familiar interface across applications that the system gracefully adapts for different screen configurations.
Instantiating an action bar can be done by using the ActionBar API provided in API 11 or above. Support for older devices is provided by the support library’s ActionBar implementation, compatible back to API 7. This sample demonstrates using the support library APIs.
Using an ActionBar with the support library requires the following steps:
- Create your activity by extending AppCompatActivity.
- Use (or extend) one of the Theme.AppCompat themes for your activity.
Once this is done, action items will be created for any options menu items that
would otherwise be created during when [onCreateOptionsMenu()][3] is called.
Pre-requisites
- Android SDK 26
- Android Build Tools v26.0.1
- Android Support Repository
Screenshots


Getting Started
This sample uses the Gradle build system. To build this project, use the "gradlew build" command or use "Import Project" in Android Studio.
Support
- Google+ Community: https://plus.google.com/communities/105153134372062985968
- Stack Overflow: http://stackoverflow.com/questions/tagged/android
If you've found an error in this sample, please file an issue: https://github.com/googlesamples/android-ActionBarCompat-Basic
Patches are encouraged, and may be submitted by forking this project and submitting a pull request through GitHub. Please see CONTRIBUTING.md for more details.
License
Copyright 2017 The Android Open Source Project, Inc.
Licensed to the Apache Software Foundation (ASF) under one or more contributor license agreements. See the NOTICE file distributed with this work for additional information regarding copyright ownership. The ASF licenses this file to you under the Apache License, Version 2.0 (the "License"); you may not use this file except in compliance with the License. You may obtain a copy of the License at
http://www.apache.org/licenses/LICENSE-2.0
Unless required by applicable law or agreed to in writing, software distributed under the License is distributed on an "AS IS" BASIS, WITHOUT WARRANTIES OR CONDITIONS OF ANY KIND, either express or implied. See the License for the specific language governing permissions and limitations under the License.
compile "com.android.support:support-v4:26.1.0"
compile "com.android.support:gridlayout-v7:26.1.0"
compile "com.android.support:cardview-v7:26.1.0"
compile "com.android.support:appcompat-v7:26.1.0"
compileSdkVersion 26
minSdkVersion 7
targetSdkVersion 26
package com.example.android.actionbarcompat.basic.tests
versionCode 1
versionName 1.0
package com.example.android.actionbarcompat.basic
versionCode 1
versionName 1.0
MainActivity
MainActivity
This sample shows you how to use ActionBarCompat to create a basic Activity which displays action items. It covers inflating items from a menu resource, as well as adding an item in code. * This Activity extends from {@link AppCompatActivity}, which provides all of the function necessary to display a compatible Action Bar on devices running Android v2.1+.
Use this method to instantiate your menu, and add your items to it. You should return true if you have added items to it and want the menu to be displayed.
This method is called when one of the menu items to selected. These items can be on the Action Bar, the overflow menu, or the standard options menu. You should return true if you handle the selection.